New Pergola roof - Construction |
|
|
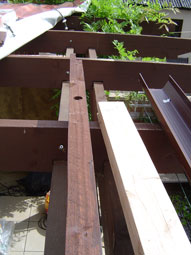
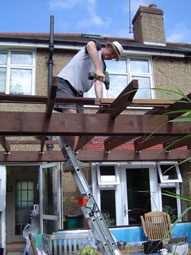
The very first thing to do was un-fix the rafters and re-fix them at the correct centres for the sheeting. There are actually three different roof panel sizes, but hey, so what, it looks ok. |
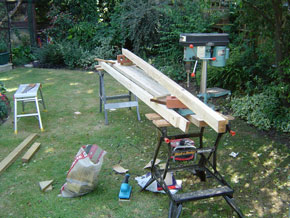
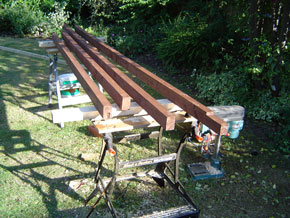
The new frame is basically a kit of parts and the bottom of the garden became a workshop in order to create the parts. The pillar drill was perfect for all standard holes and the perfect weather meant that all tools could be left out overnight. Timbers were sanded, cut to length, drilled and countersunk, rebated, jointed and finally given a coat of stain preserver. |
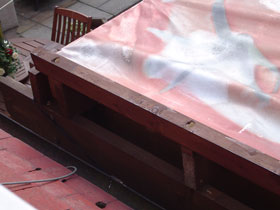
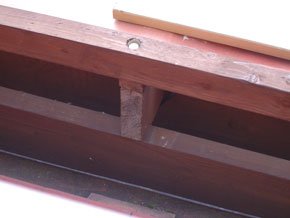
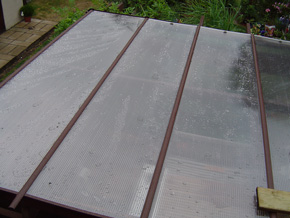
The shading sheet was kept in place while the top and bottom rafters were fixed. 100mm stainless steel coach screws countersunk into 75x50 rafters and 19mm spacers. |
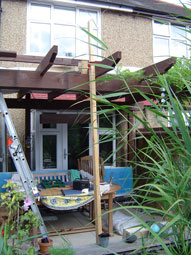
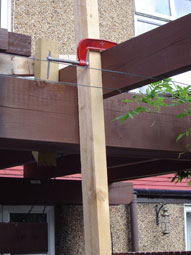
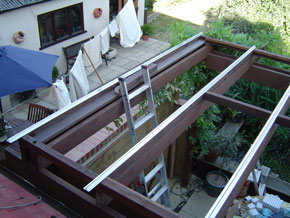
The front rafter fixings allowed the twisted main rafters to be straightened out (centre pic) using a long piece of timber. |

The shading sheet had to come down at some time, but ohhhhh, I don't like it - give me my shade! |

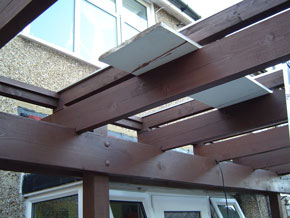
The timber frame needed a few more battens to stiffen it all up, but then had a couple more coats of stain when complete. The melamine board shows how the shading sheets fits in. |
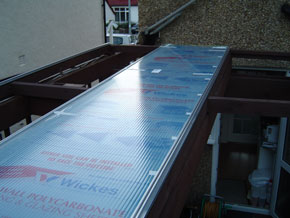
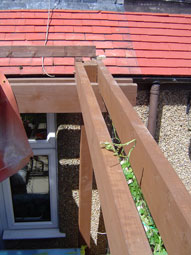
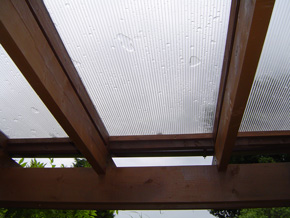
The glazing system is all from Wickes, the core of which is an aluminium extrusion that has slots for sheet gaskets and capping strip. The top sheet is 10mm polycarbonate twinwall, which is 200 times stronger than glass, but cuts with a sharp knife. |


The gutter is big, square and brown. Also visible are the gaskets the sheets sit on and some of the glazing system trims, which match the timber stain colour extremely well. |
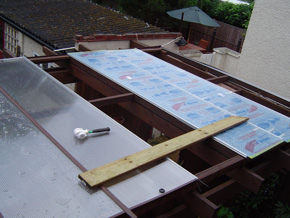
When a period of shadier, cooler weather arrived, a big push was made with the sheeting. Once a few sheets were up, the rain that came restricted work very little. Construction had to be carefully planned because access was restricted. However, when a capping was missed off, a few knee boards were installed and continued access assured. |

The sheets are well below the recommended slope and so the rain is not quick to run-off, but it does. A bucket under the rainwater outlet allowed us to collect our first water! A plain, white tarpaulin that was bought for another project was much too big, but even folded in half, it didn't produce the amount of shade we were used to. |
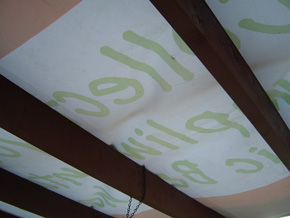
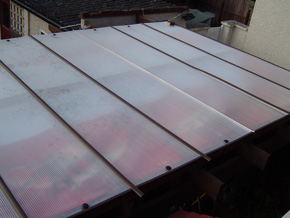
Out of the shed came the 'other half' of the old sheet, which was much better. The printing is still visible under the polycarbonate, but less so. It now points the other way! We can now measure up for a permanent sheet of the same material and even contemplate some more suitable printed design. There are a couple of ends to trim and a capping to fit, but it's basically there and we were able to spend the rest of the day and evening in comfort again. A few days later, rain threatened and so a plastic sleeve was taped to the end of the downpipe. When the rain came (in the middle of dinner) we had to keep changing buckets and watering cans to collect the water - brilliant! |